
Purchasing items through the links provided in my blog is a way to help me earn a small commission at no extra cost to you. All links are located at the end of this post! Thank you so much for your interest and support!
Introduction
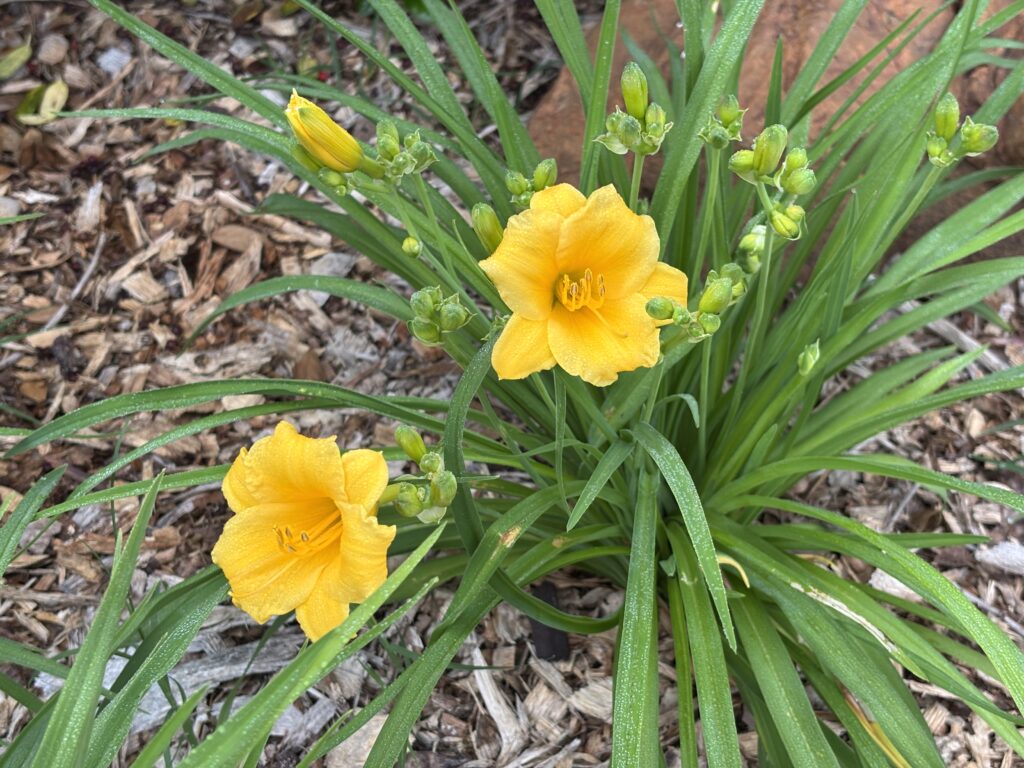
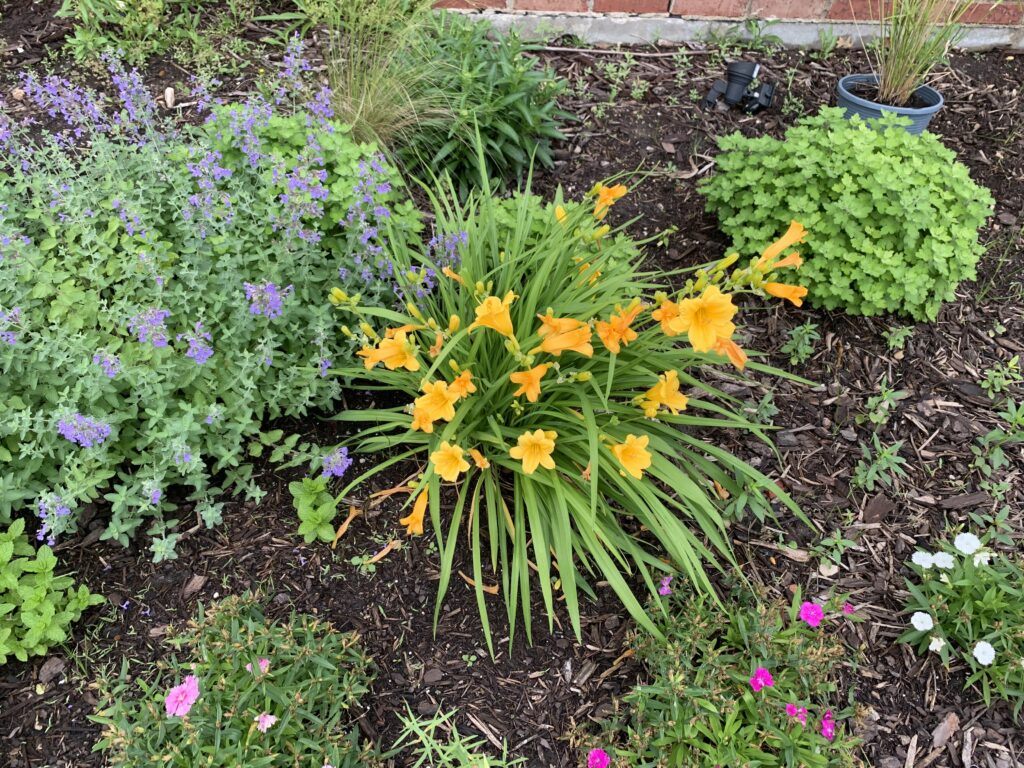
Day lilies (Hemerocallis) are perennial plants that are prized for their stunning blooms, ease of care, and adaptability to various garden conditions. With thousands of cultivars available, these flowers provide a vibrant display from spring to late summer. If you’re looking to add day lilies to your garden, this guide will walk you through the process of growing them successfully.
Understanding Day Lilies
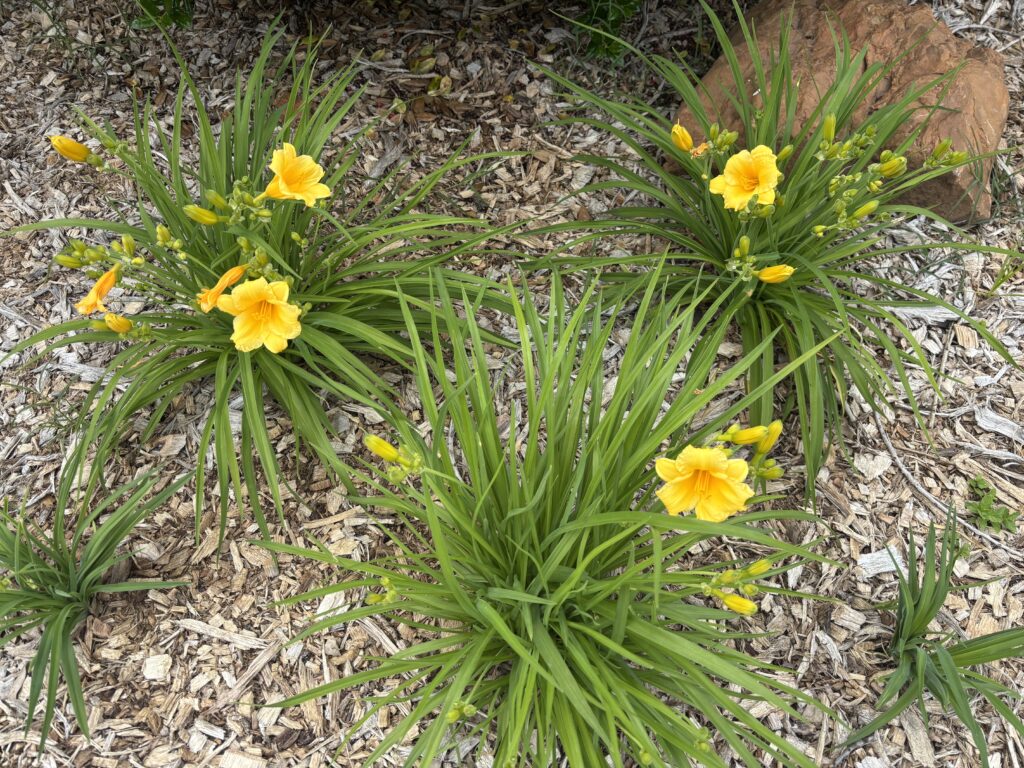
Day lilies are known for their trumpet-shaped flowers, which bloom for just one day. However, each plant produces multiple buds that open sequentially, offering a long-lasting display throughout the summer. The foliage consists of arching, strap-like leaves that can add a lush backdrop to your garden.
Choosing the Right Variety
Types of Day Lilies
There are numerous cultivars of day lilies, varying in color, size, and bloom time. Some popular options include:
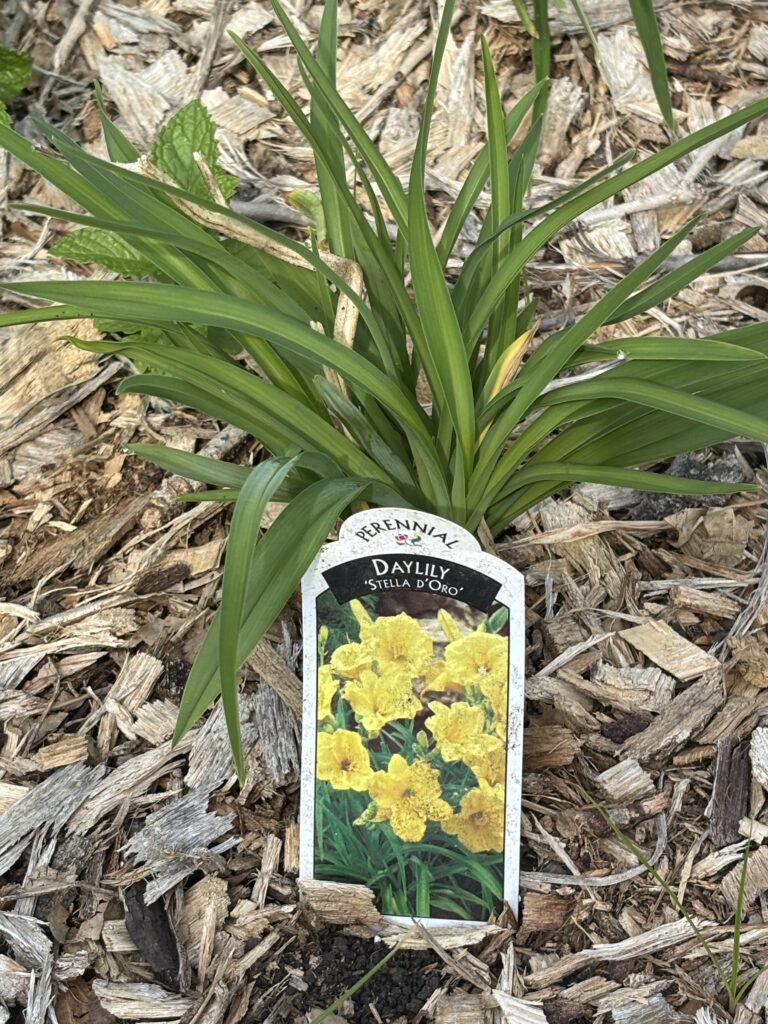
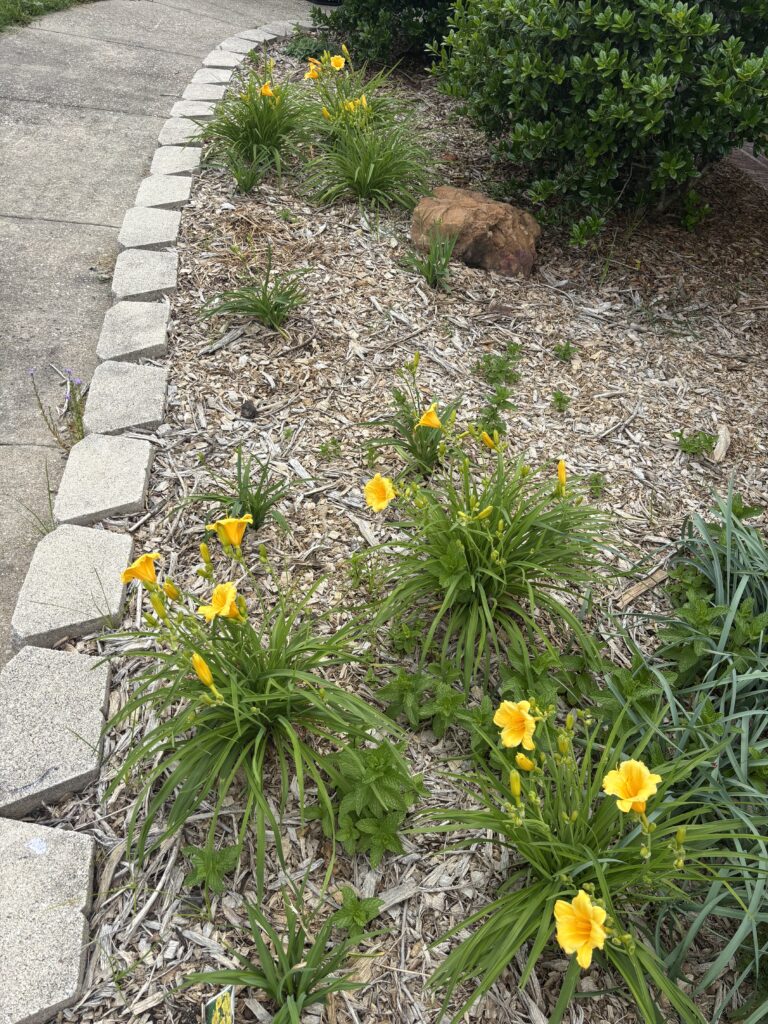
– ‘Stella de Oro’: A compact version with golden-yellow blooms.
– ‘Twinkle’: A miniature variety perfect for borders or containers.
– ‘Black Eyed Susan’: Features striking yellow flowers with a dark center.
Climate Zones
Day lilies thrive in USDA zones 3 through 9, making them suitable for many regions. Always choose varieties that are well-suited to your climate.
Preparing Your Garden Bed
Select the Right Location
Day lilies prefer full sun but can tolerate partial shade. Choose a spot that receives at least 6 hours of sunlight daily. They are versatile and can grow in a variety of settings, from borders to rock gardens.
Soil Requirements
Day lilies are not particularly fussy about soil type but perform best in well-drained, fertile soil with a pH between 6.0 and 6.8.
To prepare your garden bed:
– Test your soil pH if possible.
– Amend the soil with compost to improve drainage and fertility.
– Remove any weeds, rocks, or debris.
Planting Day Lilies
Timing
The best time to plant day lilies is in the spring or fall. Spring planting allows them to establish before the summer heat, while fall planting gives them a head start for blooming in the following season.
Planting Process
- Choose a location that receives at least 6 hours of sunlight daily. In warmer climates, like Texas, choosing a location with afternoon shade is crucial to avoid sun damage during the long hot summers.
- Dig a hole that is twice the width of the root ball and about 12 inches deep.
- Amend the soil with nutrients or compost to give your day lilies a great start.
- At the bottom of the hole form a mound tall and wide enough to fan out the roots without bending them. You may need to trim some roots down to ensure they spread downward.
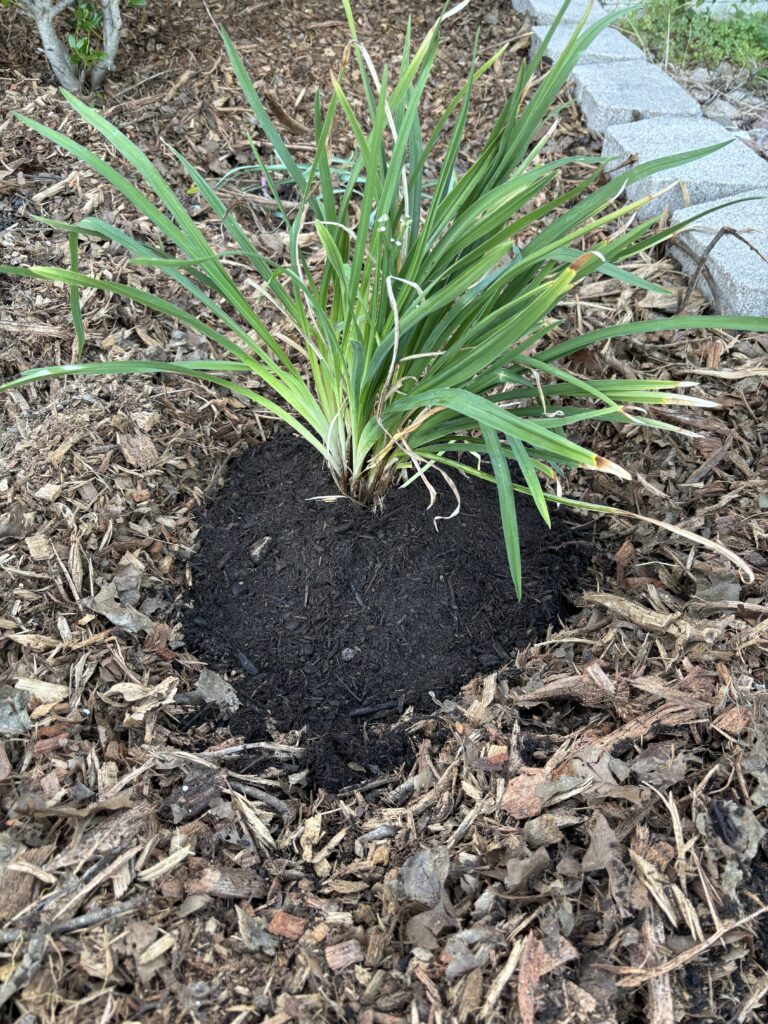
- Ensuring the crown (where leaves meet the roots) is at soil level, fill the hole with soil, gently firm it around the roots.
- Water thoroughly to eliminate air pockets and help the plant settle.
- Apply a layer of mulch to retain moisture especially during the hot summer months and suppress unwanted weeds.

Caring for Day Lilies
Watering
While day lilies are drought-tolerant, they thrive best with regular watering, especially during dry spells. Water deeply once a week, aiming for 1 inch of water to keep the soil consistently moist but not soggy.
Fertilizing
Use a balanced, all purpose or flower fertilizer in early spring as new growth begins. You can apply a second round of fertilizer in mid-summer for encouraging continuous blooms. I recommend using organic fertilizers to keep improving the health of your soil.
Mulching
Adding a layer of mulch (about 2-3 inches) around plants can help retain moisture, suppress weeds, and regulate soil temperature. Organic mulches like wood chips, shredded bark or straw also improve soil quality as they decompose. During dry spells, mulch is a must! Without it, you will find yourself watering much more often!
Deadheading
To promote more blooms, remove spent flowers by pinching them off at the stem. This will ensure the plant puts energy into producing more buds rather than forming seeds.
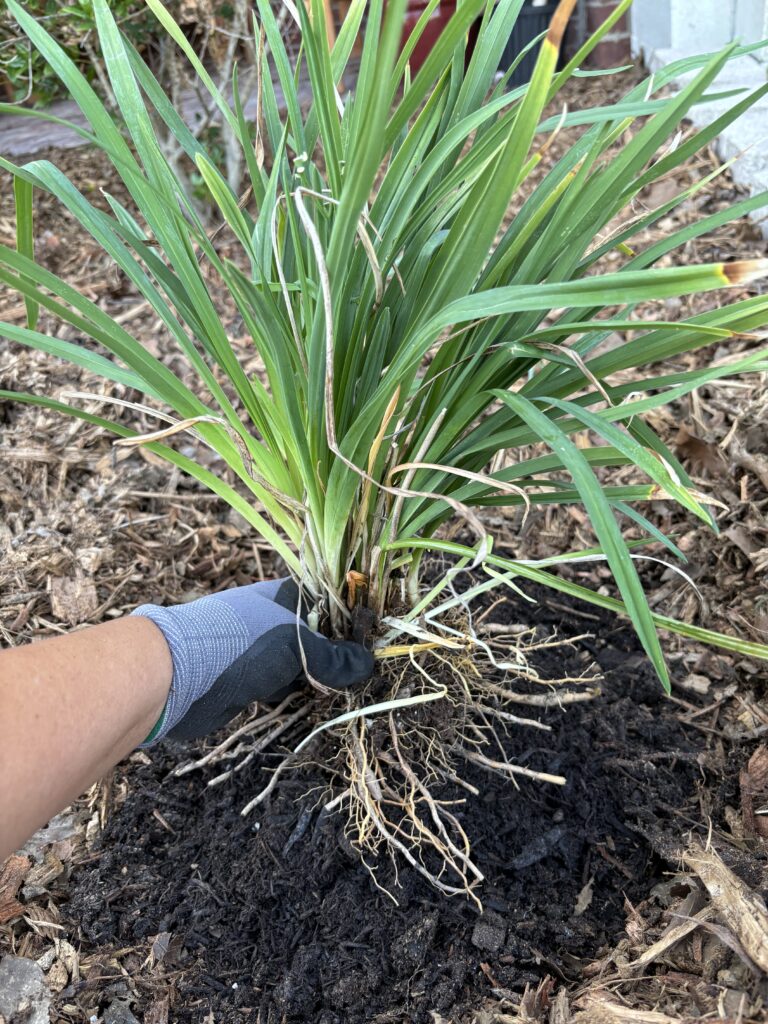
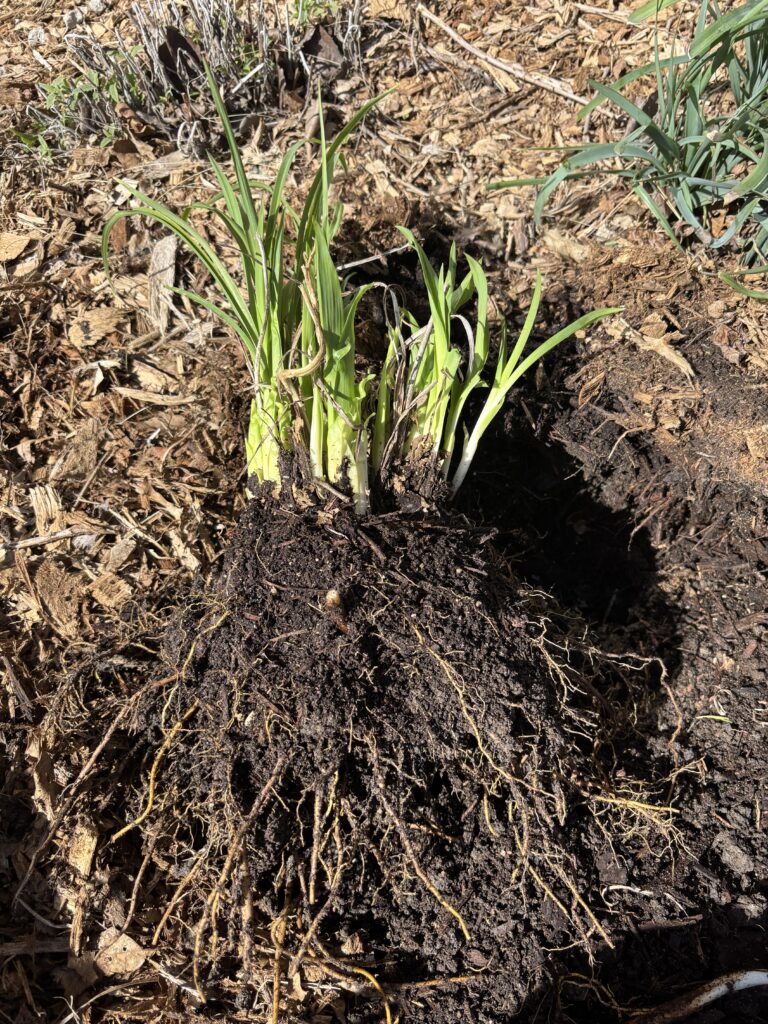
Division
Day lilies benefit from division every 3-4 years to prevent overcrowding and encourage healthy growth. I like to divide my day lilies every 2 years in order to keep expanding my garden.
The best time to divide them is in early spring or fall, when the plant is not in bloom. Dig up the plant, separate the clumps, and replant the divisions in prepared soil. If you divide the clumps in the fall, the following spring you will have bigger plants and much more blooms than if you were to divide them in the spring.

Pest and Disease Management
I have never had a pest of disease problem with my day lilies! They are generally resistant to pests and diseases, but they can occasionally face issues like:
– Spider Mites: Look for fine webbing on the undersides of leaves. Spray with water or use insecticidal soap.
– Aphids: These can be controlled by introducing beneficial insects like ladybugs or using a mild insecticidal soap.
– Fungal Diseases: Good air circulation and avoiding overhead watering can help prevent diseases like rust and leaf spot.
Seasonal Care
Winterizing
In colder climates, cut back foliage to about 3-4 inches after the first frost to prepare for winter. This prevents fungal diseases and allows snow to act as a blanket.
I live in North Texas and because of our mild winters all I do is cut back my day lilies to about 3-4 inches after they have dried out and I keep them mulched during the winter. They come back every spring!
Common Mistakes to Avoid
Overcrowding
Planting day lilies too close together can hinder their growth. Provide at least 18-24 inches between each plant. Overcrowded plants will not bloom as fast or as much. I tested this out when I left one of my day lily clumps alone, while I divided the rest. The plants divided in the fall were the first to emerge and bloom the following spring. They were the same size as the clump I did not divide. The ones divided in the spring were a lot smaller. They had less foliage and less blooms as well.
Ignoring Soil Quality
Poor soil can lead to stunted growth. Ensure your soil is well-draining and rich in nutrients. Add compost and amendments to ensure healthy soil microbes! Check out my recommendations at the end of this post!
Inconsistent Watering
Establish a consistent watering routine, especially during dry spells. Too much or too little water can both harm the plant.
Conclusion
Growing day lilies can transform your garden with their vibrant colors and long-lasting blooms. By choosing the right variety, preparing your garden bed, and providing proper care, you’ll enjoy a stunning display year after year. Whether you’re an experienced gardener or a novice, day lilies are an excellent choice for enhancing your outdoor space. So get ready to dig your hands into the soil, and let the adventure of growing day lilies begin!
Affiliate Links
Using my links will help me gain a small commission at no extra cost to you. Thank you for the support!
Day Lilies (Online)
Organic Fertilizers (Recommended for Small Gardens)
Lilly Miller Alaska Fish Fertilizer 5-1-1 Concentrate 1 Quart (2-Pack)
Dr. Earth Flower Girl Bud & Bloom 3-9-4 Organic Fertilizer Formula, 4-Pound Bag
Organic Fertilizers (Bulk Size – Recommended for Large Gardens)
ALASKA Fish Emulsion Fertilizer 5-1-1 Concentrate 1 Gallon (Тwо Расk)