
“Preserving Pear Perfection: Your Ultimate Guide to Canning and Storing Pears”
Introduction
Pears are among the most beloved fruits, celebrated not only for their sweet, juicy flavor but also for their versatility in culinary applications. Whether eaten raw, baked into desserts, or combined with savory dishes, pears hold a special place in many kitchens. However, the pear season is relatively short-lived, leaving many to wonder how they can preserve this delicious fruit for year-round enjoyment. In this blog post, we’ll explore various methods of preserving pears, including canning, freezing, drying, and making pear preserves.
Understanding Pear Varieties
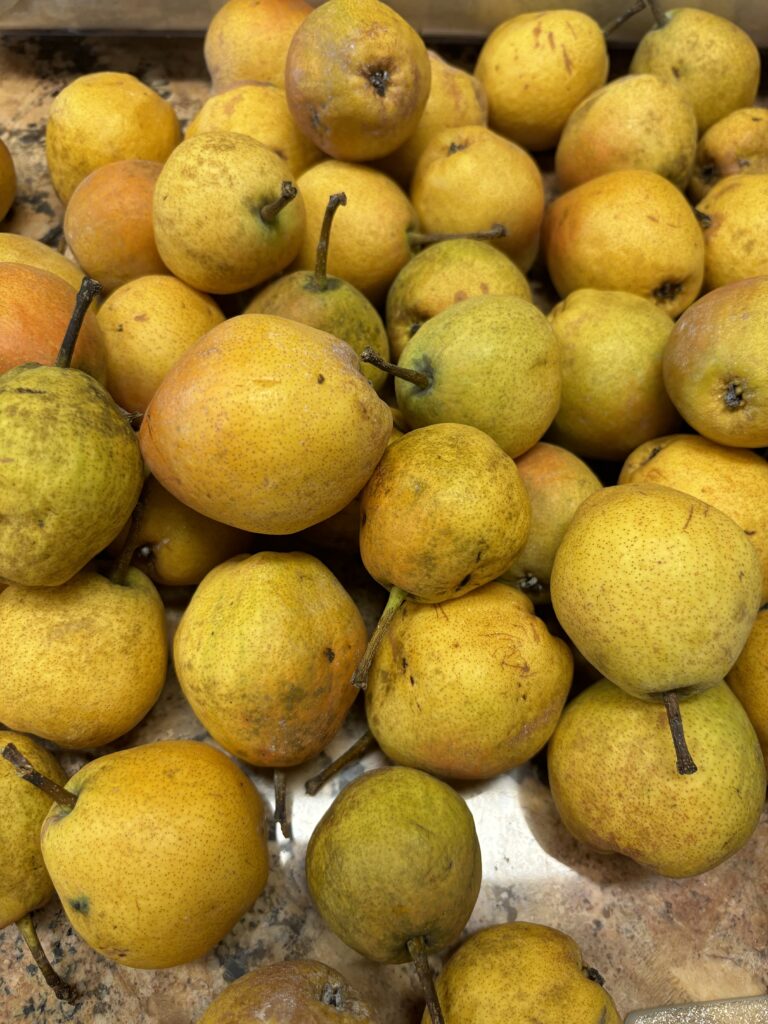
Before diving into preservation techniques, it’s essential to understand the types of pears available. Two primary categories are:
European Pears
Common varieties include Bartlett, Bosc, and Anjou. They are typically sweet and juicy and are excellent for fresh eating and cooking.
Asian Pears
Known for their crisp texture and refreshing taste, these round pears do well in salads and can be eaten fresh.
Each variety presents its own unique flavor profile and texture, which can influence the preservation method you choose. For example, Bartlett pears are great for canning, while Bosc pears are excellent for poaching or baking.
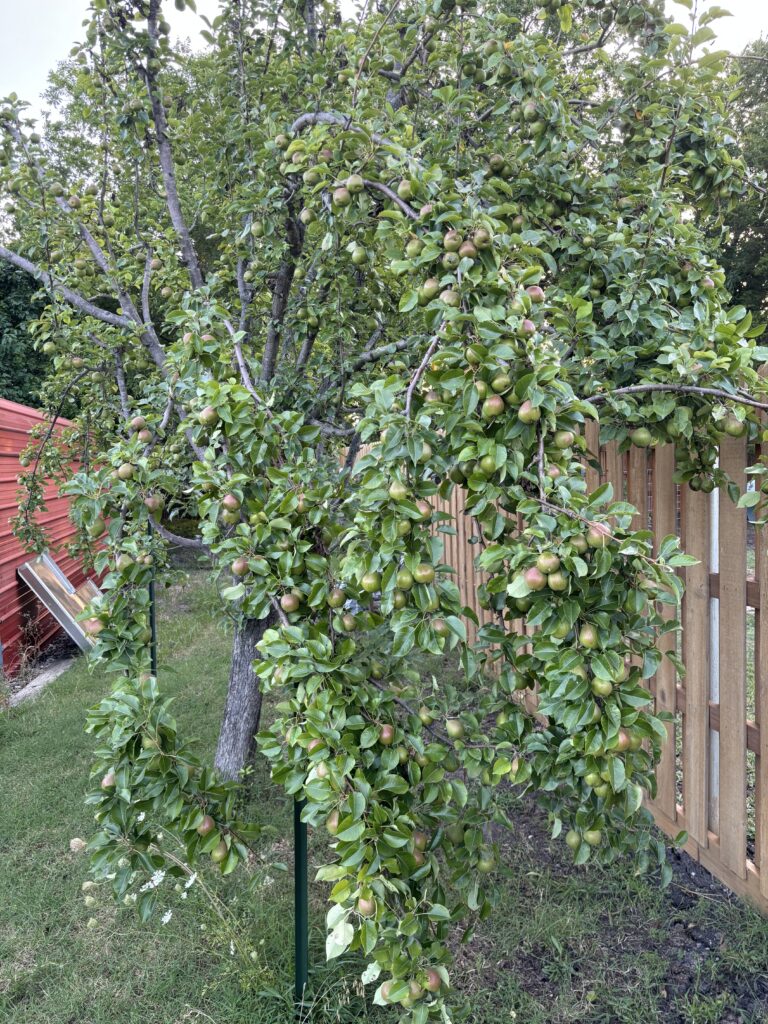
Harvesting Pears
Harvesting is crucial for preserving quality pears. Pears are usually harvested when they are mature but not fully ripe. This is typically indicated by a slight change in color and firmness when gently pressed. If you pick them too early, they won’t ripen properly; pick them too late, and they may spoil too quickly.
Preparing Pears for Preservation
Once you have your pears, the preparation stage is vital for ensuring the best quality in preservation. Follow these steps:
1. Wash: Rinse the pears thoroughly under cool water to remove any dirt or pesticide residues
2. Peel (if necessary): Depending on your chosen method, you may want to peel the pears. For canning or preserves, peeling is generally recommended, while for freezing, you can leave the skin on. Not peeling your pears can sometimes make the final result bitter and unenjoyable. I always opt for doing the extra step but you can definitely try leaving the peel on a small batch and what you prefer.
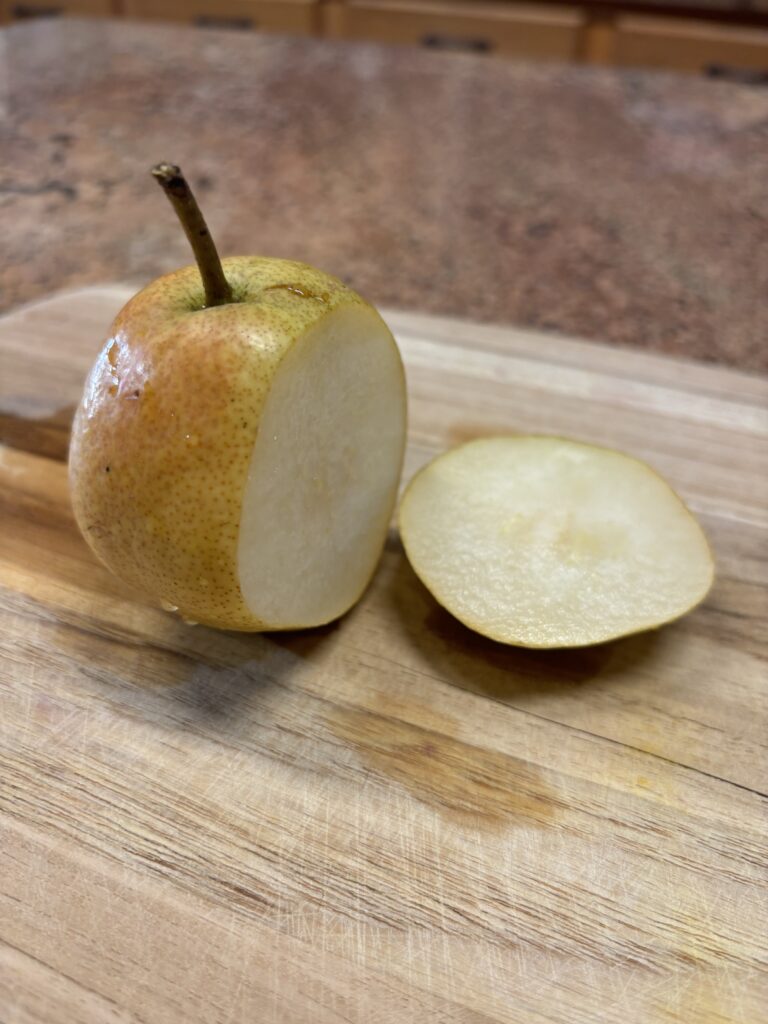
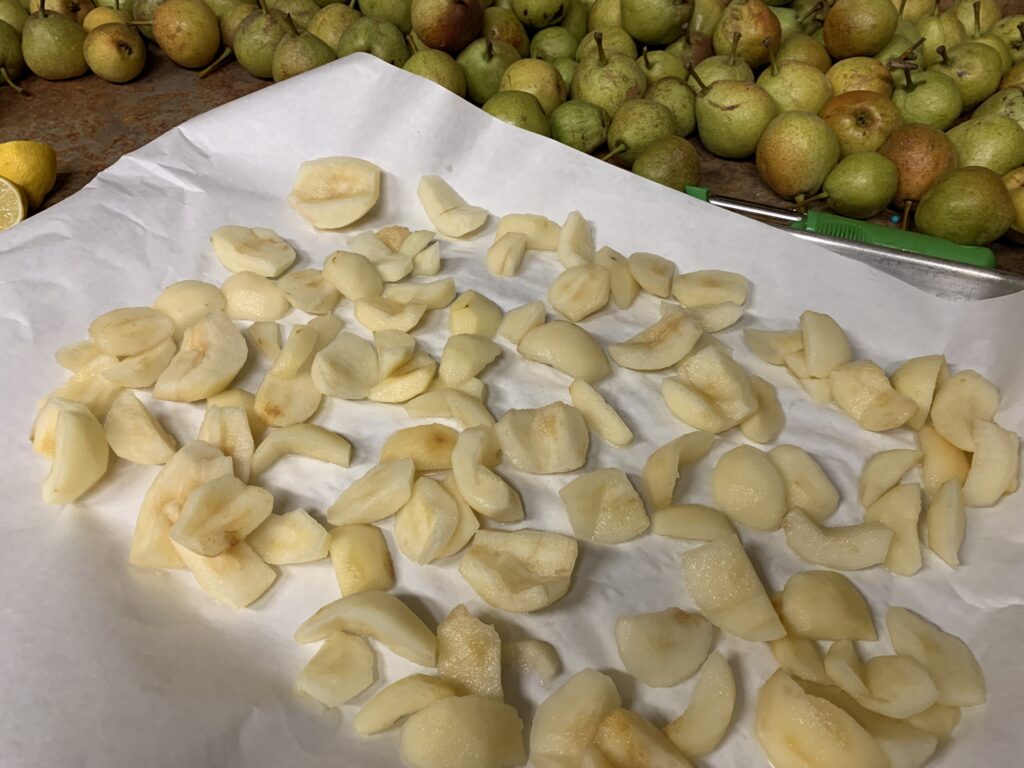
3. Core and Slice: Remove the cores and slice the pears into the desired thickness, depending on your chosen method or recipe.
4. Prevent Browning: To avoid browning, especially when freezing, you can soak the pear slices in a mixture of water and lemon juice (about 1 tablespoon of lemon juice per cup of water) for a few minutes.
Methods of Preserving Pears
Now, let’s explore various methods to preserve pears, each offering unique flavors and textures.
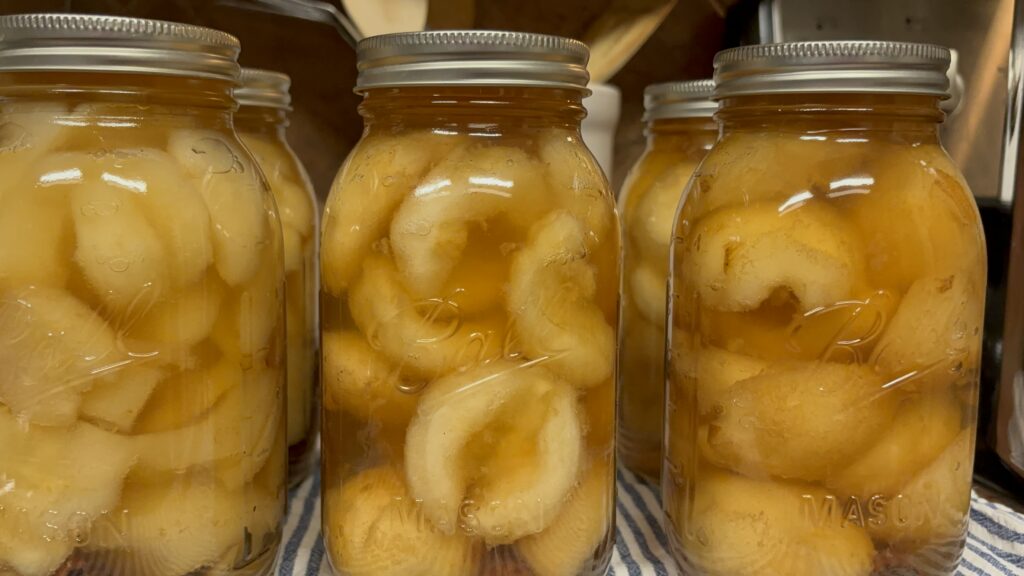
1. Canning Pears
Canning is a popular method for preserving pears and allows you to enjoy their flavor long after the harvest. Here’s a simple canning recipe:
Ingredients
– Fresh pears
– Sugar (optional)
– Water or fruit juice
Steps
- Prepare Jars: Sterilize canning jars and lids by boiling them for 10 minutes or running them through a dishwasher cycle.
- Prepare Syrup: Create a light syrup by mixing sugar and water/fruit juice. For a sugar-free option, you can use fruit juice alone.
- Pack Pears: Pack the prepared pear slices tightly into the jars, leaving about ½ inch of headspace.
- Add Syrup: Pour the syrup over the pears, maintaining that headspace.
- Seal Jars: Wipe the rims of the jars with a clean cloth to remove any residue and place the lids on top.
- Process Jars: Process the jars in a boiling water bath for 20-25 minutes for pint jars, or 25-30 minutes for quart jars.
- Cool: Let the jars cool completely on a clean kitchen towel or cooling rack.
Store your canned pears in a cool, dark place. They should last for a year or more!
2. Freezing Pears
Freezing is one of the simplest methods of preserving pears. It retains the fruit’s texture and flavor well.
Steps
1. Prepare Pears: Wash, peel, core, and slice the pears as mentioned earlier.
2. Pre-Treat: Soak them in a lemon juice solution to prevent browning.
3. Flash Freeze: Arrange the slices in a single layer on a baking sheet and freeze for a few hours.
4. Package: Transfer the frozen slices into freezer bags or airtight containers, removing as much air as possible before sealing.
5. Label: Don’t forget to label with the date and type of pear before returning them to the freezer.
Frozen pears can last up to 6-12 months in the freezer, making them ideal for smoothies, baking, or cooking throughout the year.

3. Drying Pears
Dried pears are a delicious and nutritious snack, perfect for trail mixes or granola. Dried fruit also takes up less space compared to canned or frozen options.
Steps
1. Prepare Pears: As before, wash, peel, core, and slice the pears.
2. Pre-Treat: Soak in a lemon juice solution to prevent browning, if desired.
3. Drying: You can use a food dehydrator, an oven, or air-dry them.
– Dehydrator: Set the dehydrator to 135°F (57°C) and dry for about 6-10 hours, checking for dryness as you go.
– Oven: Preheat the oven to the lowest setting, usually around 150°F (65°C). Place the pears on a baking sheet lined with parchment paper and leave the oven door slightly ajar to allow moisture to escape. This method may take 6-12 hours.
4. Cool and Store: Once fully dried, let them cool before storing them in airtight containers.
Dried pears can last for up to a year if stored in a cool, dark place.
4. Making Pear Preserves
Preserves are a delightful way to enjoy the sweet essence of pears in recipes or as a spread.
Ingredients
– Fresh pears
– Sugar
– Lemon juice
– Optional spices (cinnamon, nutmeg, etc.)
Steps
1. Prepare Pears: Dice the pears, removing any blemishes.
2. Cook: In a large pot, combine the diced pears, sugar, and lemon juice. Use a ratio of about 4 cups of pears to 1 cup of sugar, adjusting to taste.
3. Simmer: Cook over medium heat, stirring frequently until the mixture thickens, about 30-40 minutes.
4. Jar and Seal: Pour your hot preserves into sterilized jars and seal them, processing in a water bath if you want to store them long-term.
5. Cool: Allow them to cool completely before storing.
Pear preserves can last for up to a year when sealed properly.
Freeze-Drying
Freeze-drying pears is a fantastic way to preserve their delicious flavor and nutritious qualities while extending their shelf life. This method involves freezing the pears at very low temperatures and then using a vacuum to remove the moisture, allowing the fruit to retain its shape, color, and nutritional value. The result is a lightweight, crunchy snack that can be enjoyed on its own or added to cereals, granola bars, or baking recipes.
Freeze-dried pears are incredibly versatile, maintaining their sweetness and aromatic profile, making them a practical choice for backpackers, busy families, or anyone looking to savor the taste of summer all year round. Plus, with minimal preparation time, freeze-dried pears are an easy and convenient way to capture the essence of fresh fruit.
Conclusion
Preserving pears is not only an excellent way to make the most of this seasonal fruit, but it also adds variety and flavor to your kitchen throughout the year. Whether you choose to can, freeze, dry, or make preserves, each method preserves the delightful essence of pears while providing various culinary options. So grab some fresh pears and start your preserving journey today! Enjoy the taste of summer all year long!