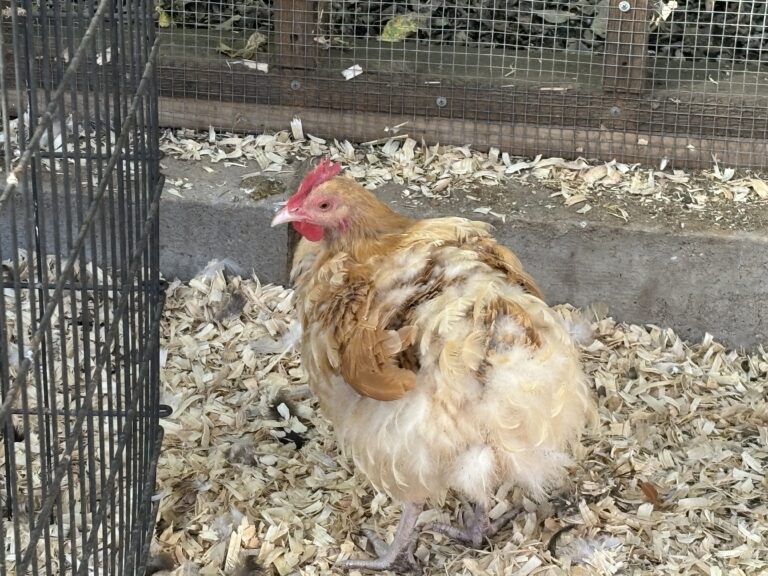
Hello, my fellow chicken enthusiasts! If you’re a proud parent to a flock of feathered friends, you know that keeping them happy and healthy is a top priority. I mean, who wants to see the their chicken ladies suffer? Not me!
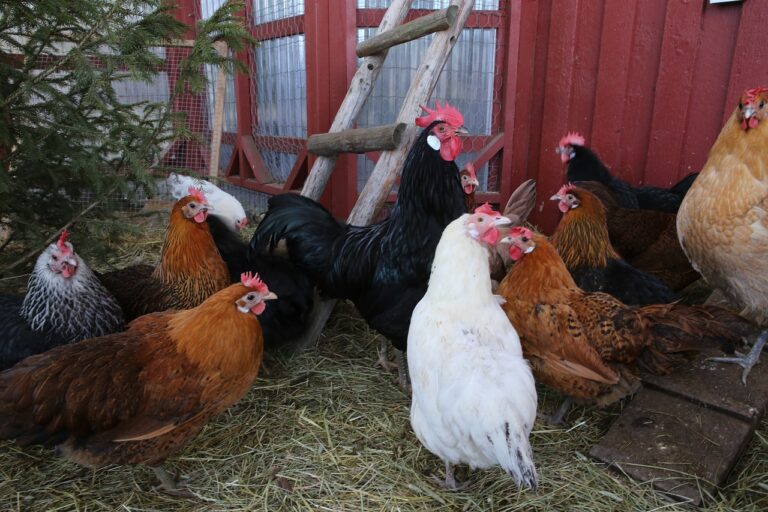
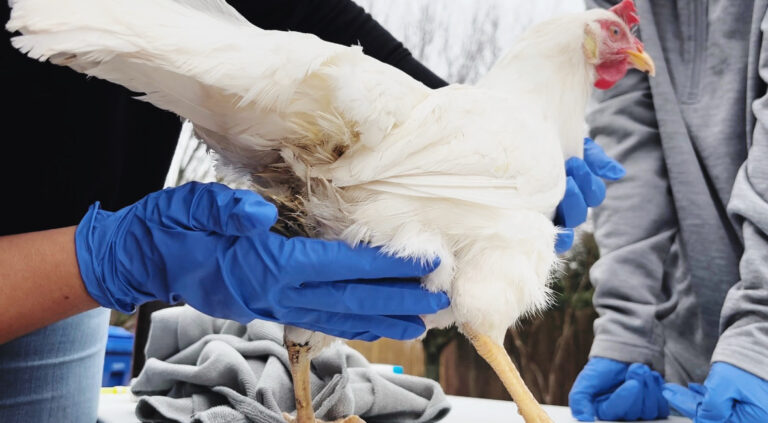
Lime-washing (white-washing) came to my attention, after I lost three hens in one spring season to disease and to top it off that same season, one of my hens stopped laying eggs and painfully walked so slow that I noticed her mild case of scaly leg mites. Talk about a chicken-keeping nightmare! I truly felt like a failure, so I was committed to find some solutions!
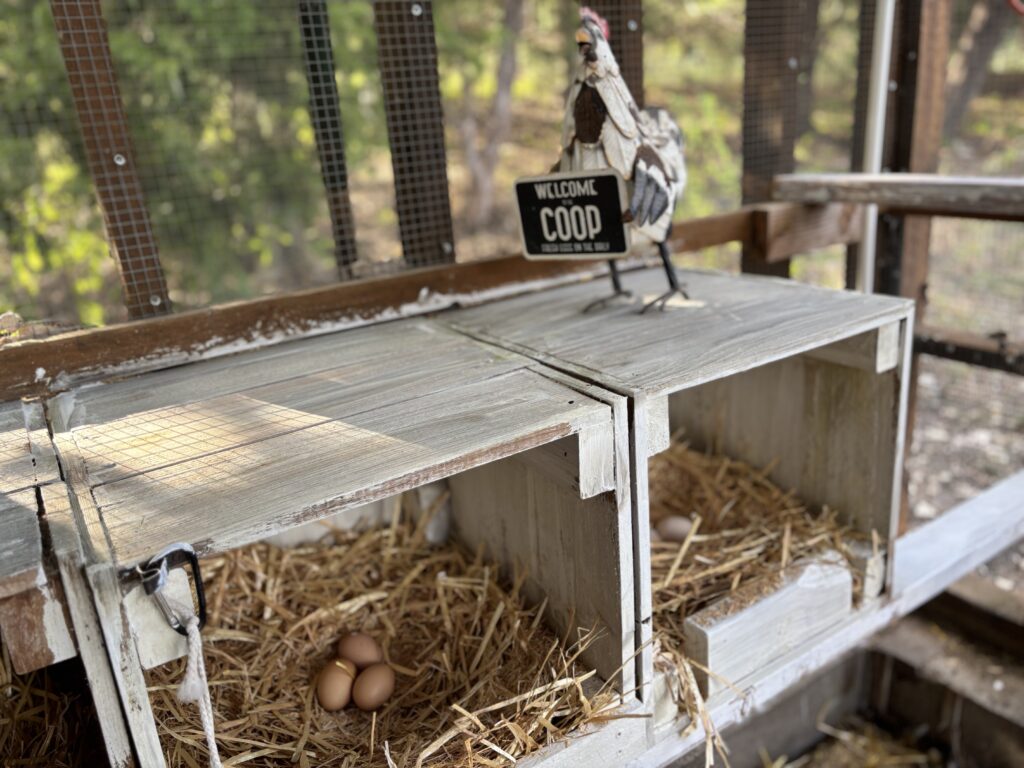
One of those recommended solutions that will remain in my chicken-keeping routine is giving your chicken coop a fresh coat of lime or whitewash. Let’s dive into the importance of this age-old practice and how it benefits both you and your chickens!

What Is Lime or Whitewashing?
Before we get into the nitty-gritty, let’s talk about what whitewashing actually is!
Whitewashing is a technique that involves applying a mixture of water, lime, and salt to surfaces. This goopy concoction not only brightens up your space but also provides a range of benefits for your coop and your chickens.
When we talk about lime washing specifically, we’re usually referring to a simple mixture of slaked lime and water that chalks up the walls, giving them that classic, rustic look. Now a days, you can also find a whitewashing paint option available if thats your go-to route, but personally, I like the to use the old method!
Reasons to Lime Wash Your Chicken Coop
1. Pest Control
One of the biggest headaches for chicken owners is dealing with pests. Ants, mites, and lice can quickly invade your coop, causing stress for your birds and potentially leading to illness. Lime has natural pest-repelling properties! When applied to the coop’s walls, it creates an unwelcoming environment for unwanted critters. I have noticed a reduced number of mosquitos and flies as well! A good lime wash can deter these pests and help keep your chickens snug and safe.
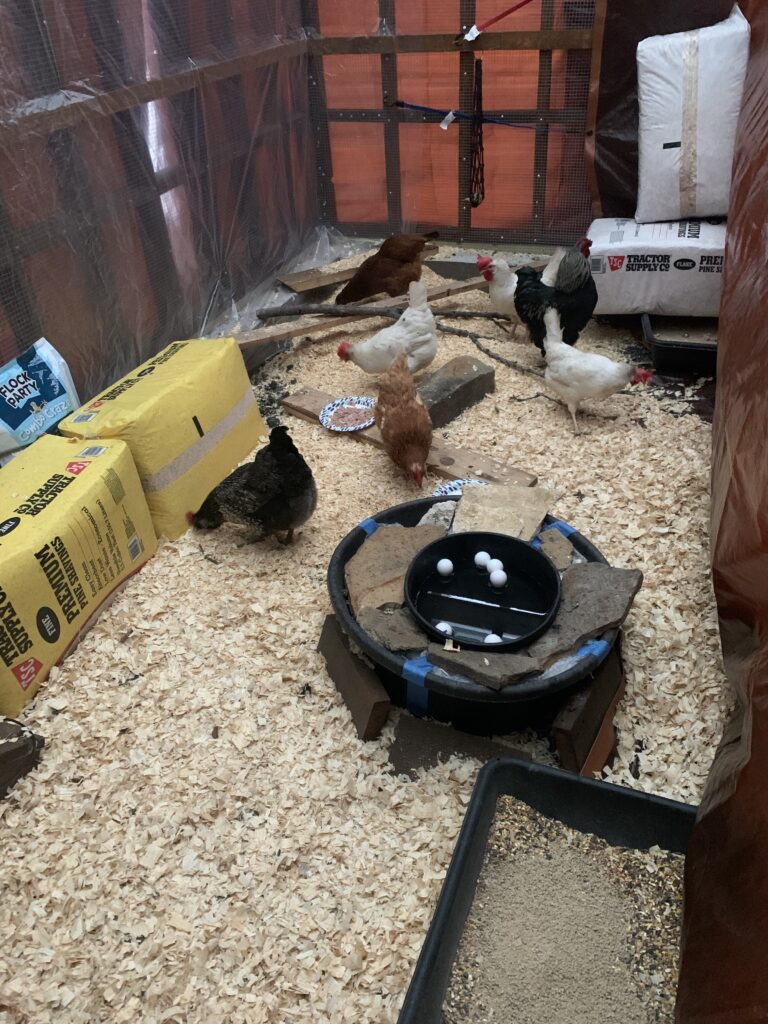
Lets face it! Most chicken-keepers have a wooden chicken-coop which are more prone to housing pest. Mites and other pest like tiny roaches love to hide in cracks and crevices. The chickens love to eat tiny roaches for snacks but they tend to come out at night, while the hens are sleeping. I don’t like to go in the coop at night and be surrounded by critters, which is why I can testify that lime-washing does work! If you can invest in non-wooden coop for an almost bug-free experience then check out my links below.
2. Disease Prevention
Speaking of health, cleanliness is crucial in preventing diseases. Chicken coops can quickly become breeding grounds for bacteria and fungi, especially when wet and dirty. Lime is also a natural disinfectant. When you lime wash your coop, it helps kill off harmful bacteria and viruses that can make your chickens sick. Keeping your coop clean not only protects your birds but also means fewer headaches for you and fewer holes to dig in the case that your hens don’t make it. At least that is my case here. My children prefer to give their chicken friends a proper burial.
3. Temperature Control
Chickens can be sensitive to extreme temperatures. A lime-washed coop reflects sunlight, helping to keep the interiors cooler during those scorching summer days. In the winter, the light color can reflect warmth from the sun. This makes the environment a bit more comfortable for your feathery friends throughout the year.
4. Aesthetic Appeal
Let’s be honest: a fresh coat of lime or whitewash just looks good! It gives your coop that charming, classic look that could be straight out of a country living magazine. Not only will you enjoy a prettier backyard, but it’ll also impress friends and neighbors. Plus, let’s face it; a visually appealing coop makes us feel great about the care we’re providing our chickens! The downside of the rainy season is that it won’t last so if you have a large coop, you might want to focus on the inside during this time.
5. Mold and Mildew Resistance
Chickens thrive in dry conditions, and damp environments can lead to mold and mildew, which can be harmful to your flock’s health. Lime acts as a drying agent and helps to absorb excess moisture in the coop, thus reducing the potential for mold growth. Regularly lime washing the coop will help create a healthier environment that your chickens will appreciate.
6. Cost-Effective Maintenance
One of the great things about lime washing is that it’s an inexpensive option for maintaining your chicken coop. A bag of lime is pretty affordable, and the materials needed for mixing it up are basic. You can easily accomplish the job yourself or involve your family for some weekend bonding time. Plus, given all the benefits I’ve mentioned, the investment is well worth every penny!
How to Lime Wash Your Chicken Coop
Ready to get started? Here’s a simple guide to whitewashing your coop!
Step 1: Gather Your Supplies
You’ll need:
Hydrated Lime or Slaked Lime: You can find this available at most gardening or home improvement stores in the masonry section. Large bags may be your only option, but good thing it’s very inexpensive. Make sure to store and label the remaining lime in 5 gallon buckets with lids so you don’t get it confused with look-a-likes such as kaolin clay or diatomaceous earth.
Water: Preferably, add your water first then your lime and salt to avoid a powdery blow out.
A Mixing Bucket: I like to use a 2 gallon bucket with a handle or a 1 gallon plastic pitcher so that I can easily hold it in my hand while brushing on the lime mixture in those hard to fit or reach spaces.
A Mixing Stick: If you use epsom salt, some will settle to the bottom. I like to find a stick long enough to reach the bottom of my bucket and give the lime and salt an occasional mix to incorporate before brushing.
A Long-Handled Brush or Roller: Give the roller a try to see if it works for your coop. It may save you a-lot of time! In my personal experience, I found it much easier and less messy to use a long-handle wide brush or a broom for larger sections but it all depends on the size of your coop and your patience level. Whatever you do, don’t use a pump sprayer. I thinned out the mixture in hopes of saving time, but unfortunately it only clogged my sprayer. I think I always knew in the back of my mind that it wouldn’t work but still gave it a try. Next time, I will try a paint gun spraying method!
Protective Gear like Gloves and Goggles: These are essential for your protection! The mixture can get anywhere and the smell can really get to you without a mask. Along with gloves and goggles, I like to wear long clothing to cover my whole body, long boots and a hat for my hair!
Step 2: Prepare the Area
Before you start, ensure your chickens are safely housed elsewhere or just let them free-range early! Ideally, choose a day with nice weather and start early. This will help your lime wash to dry quickly and nearly complete before nightfall.
Step 3: Mix Your Lime Wash
Follow the recommended ratio of lime to water (about 1 part lime to 2-3 parts water is common). Stir until it achieves a smooth, creamy consistency, similar to a thinned out pancake batter. Here is the recipe I like to use:
- 1 gallon of water
- 4 cups lime
- 1 cup salt (I use epsom salt)
Step 4: Clean the Coop
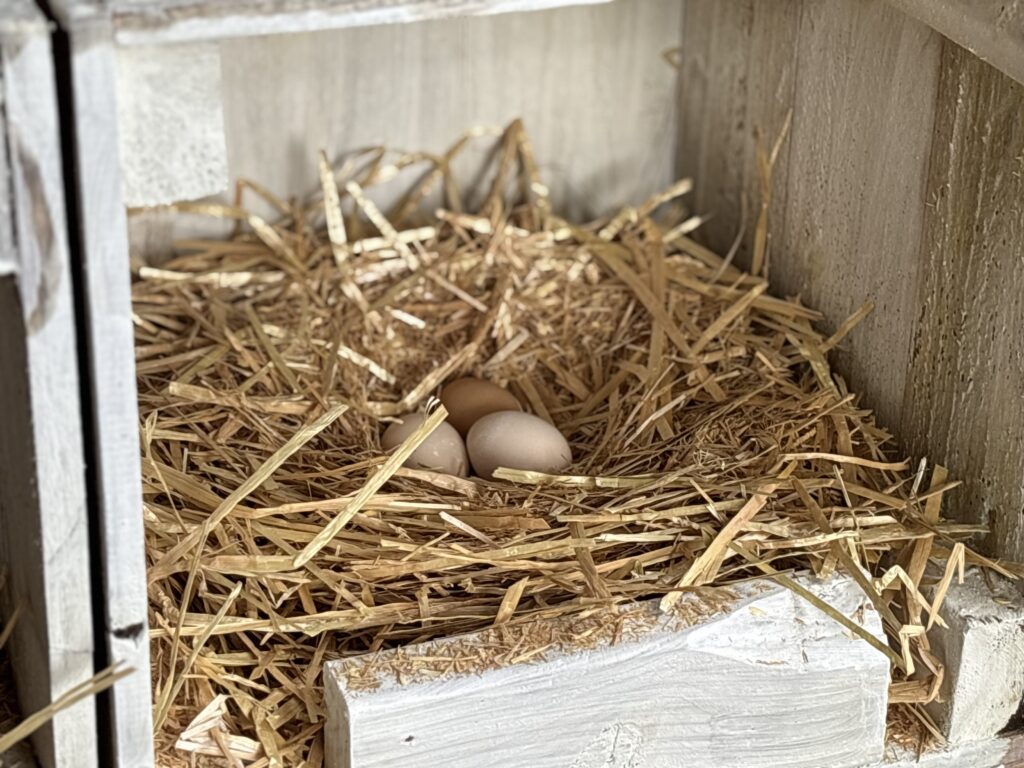
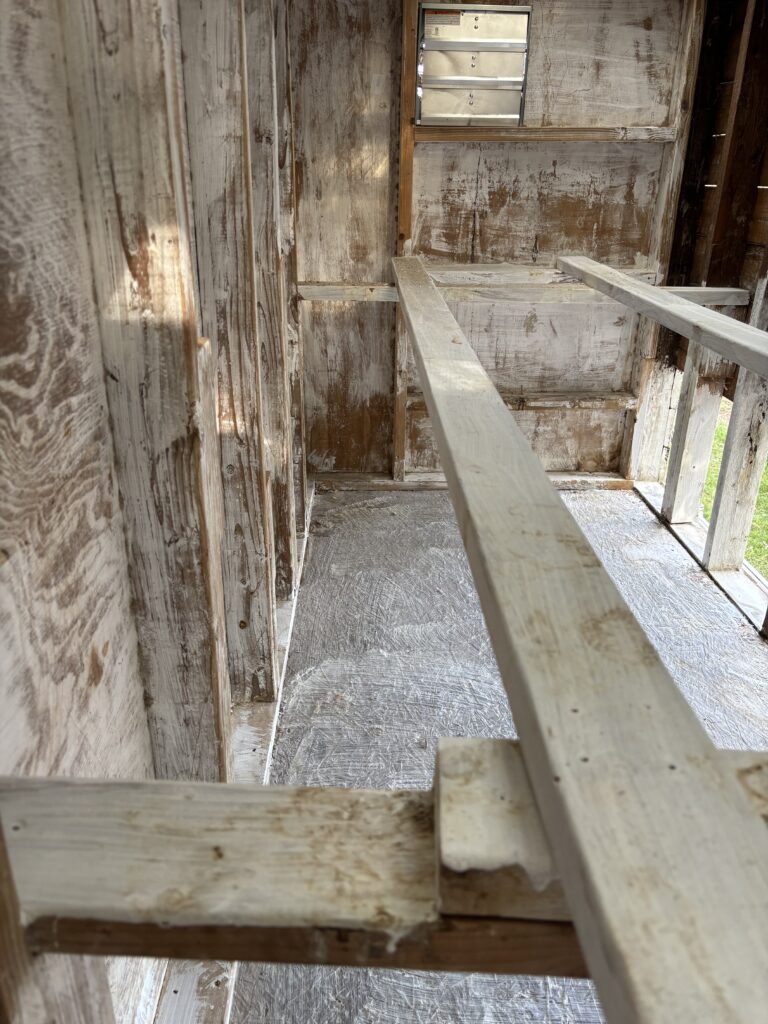
Before applying the mix, you need to ensure that the coop is clean of any dust and debris. This will let your lime wash adhere better to the coop’s surfaces. It’s also a good opportunity to check for any repairs needed. I like to focus on the sleeping coop area first and get that done so it drys before the chickens are ready for bedtime.
Step 5: Apply the Lime Wash
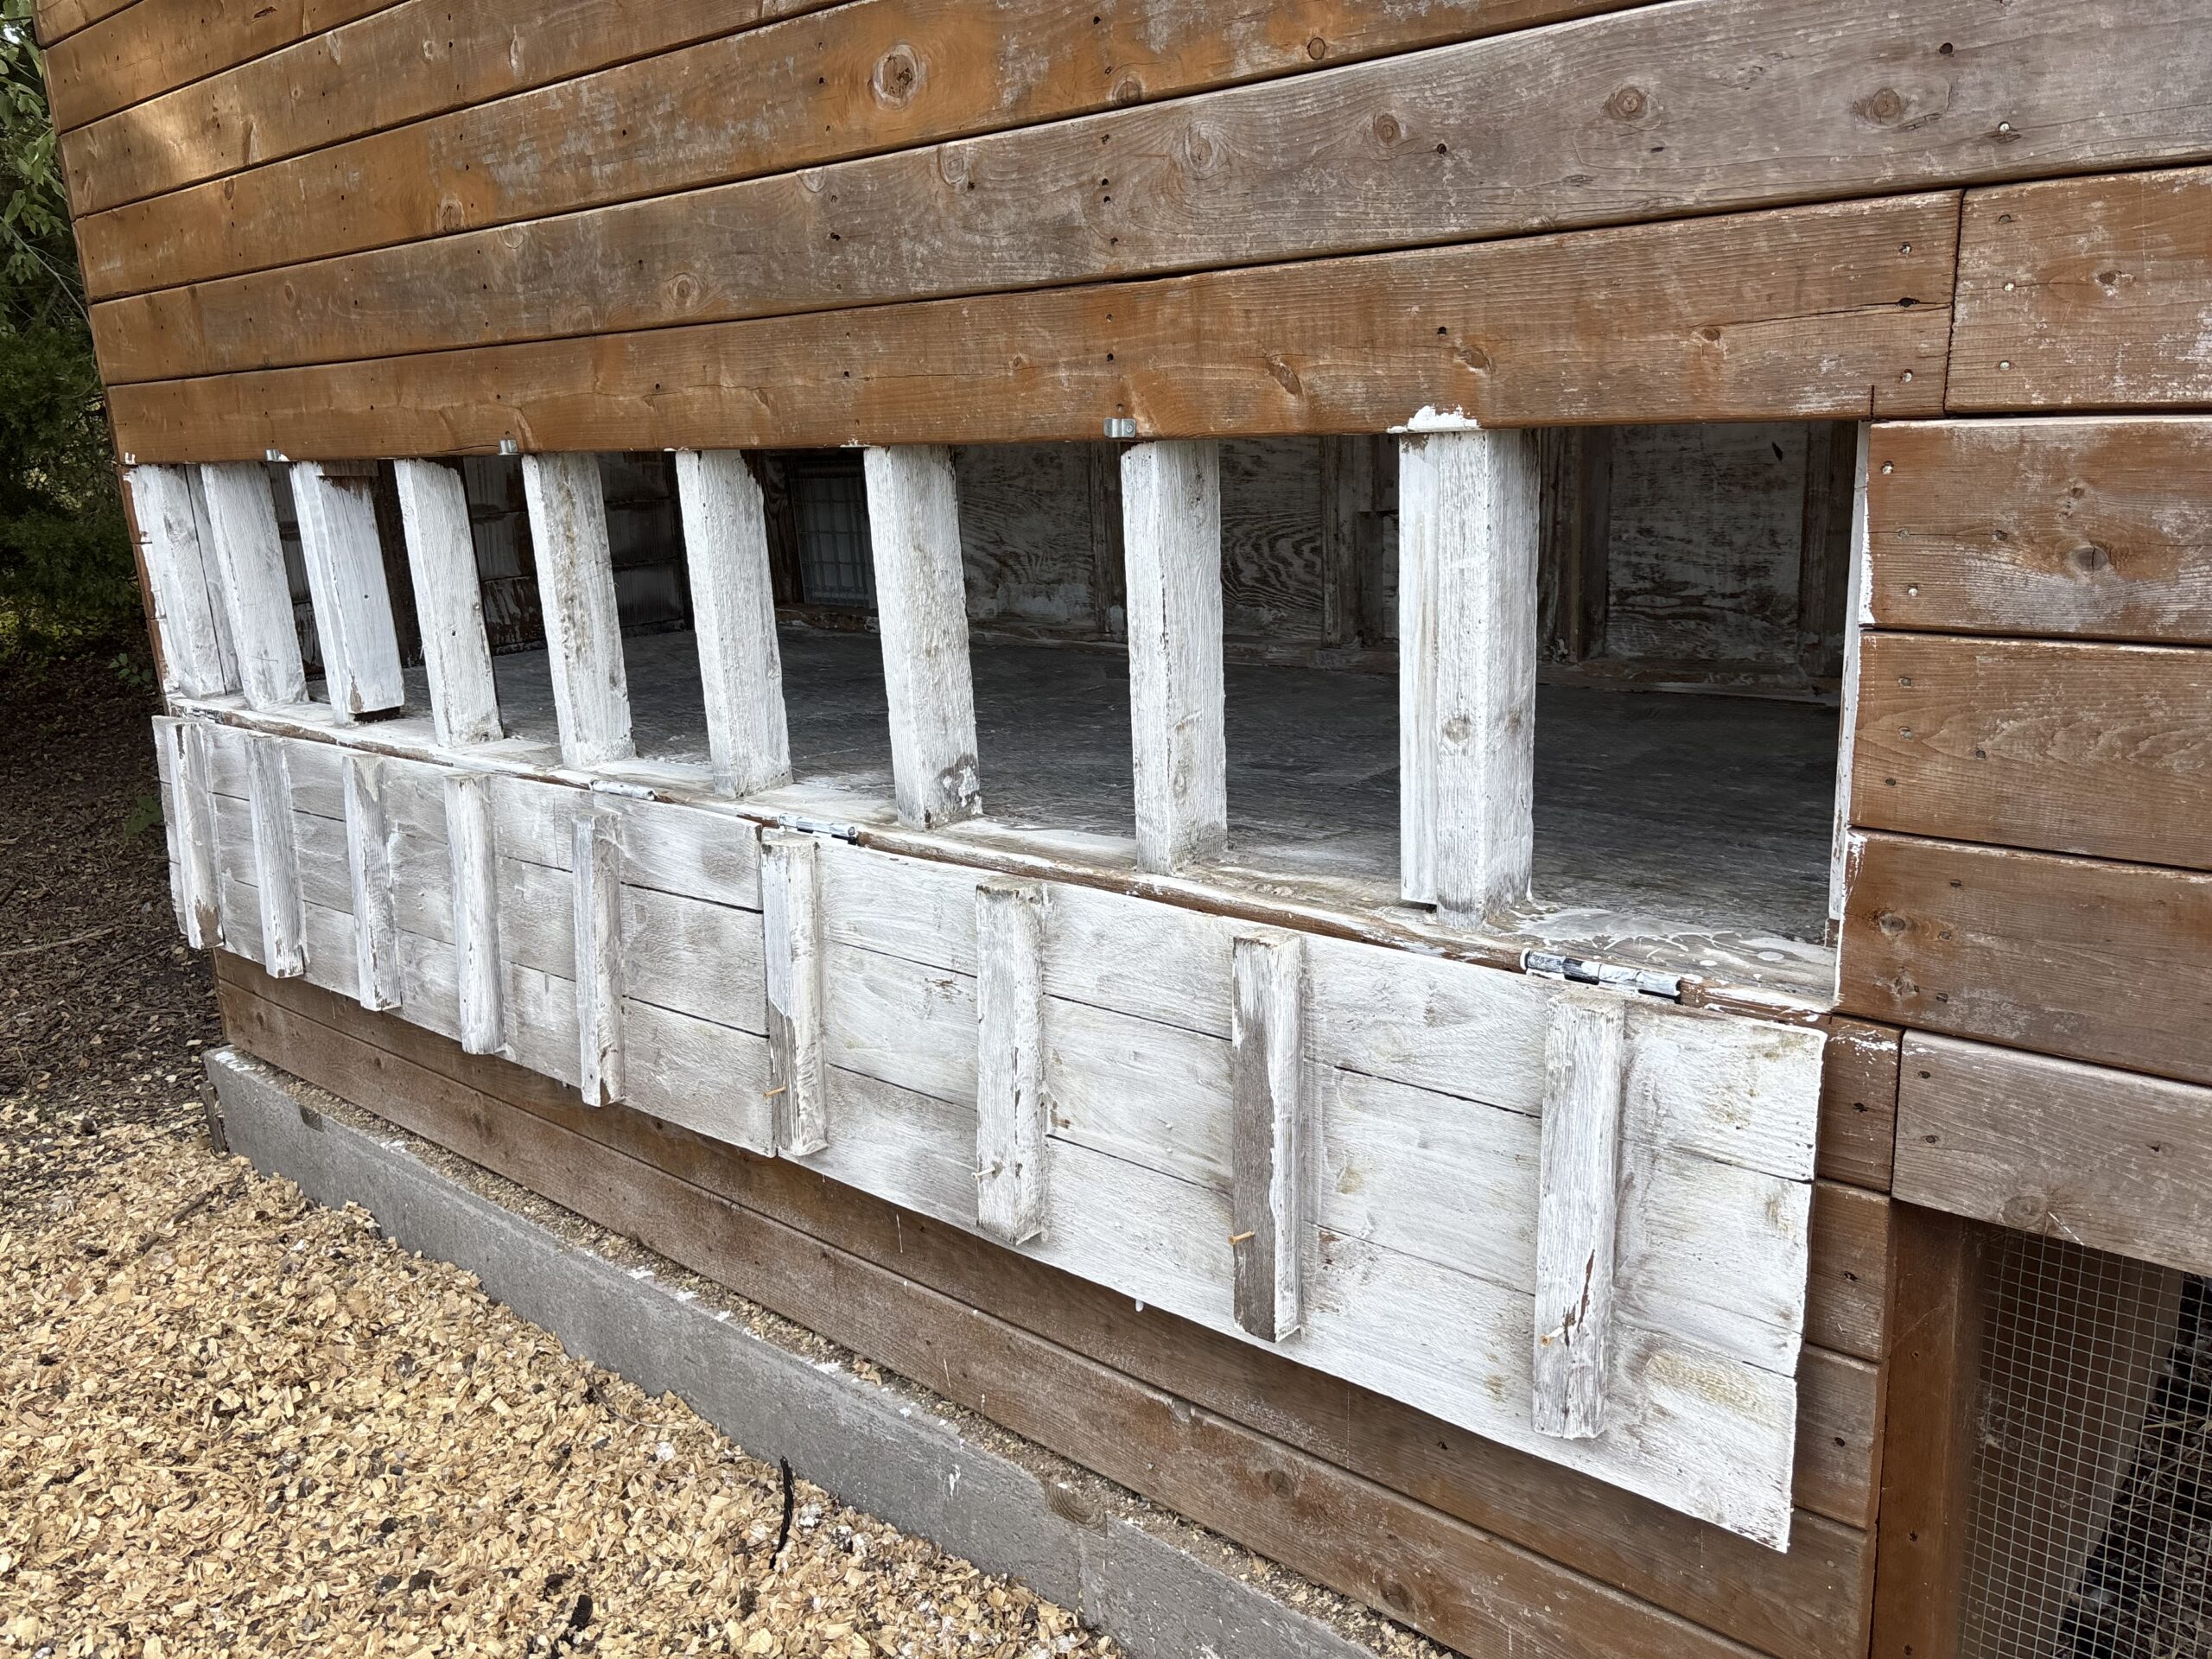
Using your brush or roller, begin applying the lime wash to the walls of the coop. Don’t stress about perfect coverage; an uneven coat wont bother the ladies! Make sure to get into corners and any areas that might be more prone to moisture and the roosting bars for pest like mites.
Step 6: Let It Dry
Give your coop plenty of time to dry—hence start early in the day. If the weather is particularly humid, it might take longer. Once it starts getting dark, your hens will be ready to go to sleep so it’s not like you have 24 hours to work with. Add a fan to speed up the drying process if needed but usually a sunny day will do the trick.
Step 7: Enjoy!
After everything is dry, let your chickens back into their freshly refreshed home. They’ll love it, and so will you!

Regular Maintenance and Reapplication
Lime wash isn’t permanent, that’s the downside! You’ll want to keep an eye on the condition of your coop to consider when to reapply. I recommend reapplying during your spring and fall coop cleaning routines or sooner if you notice it wearing down.
Don’t let the con of reapplication discourage you from lime washing your chicken coop! It is well worth every effort and I can say it has controlled a-lot of disease and pest among my flock! Not to mention, it neutralizes the bad smells! Regular maintenance not only makes your coop look great but also helps keep all those fabulous benefits in play.
Conclusion: Brighten Up Your Coop
Lime or whitewashing your chicken coop is an age-old practice for a reason! It enhances aesthetics, provides health benefits, offers pest control, and helps keep your feathered friends feeling cool and comfy. So grab that lime, get your hands a little dirty, and enjoy the splendid transformation of your chicken coop! If you have any tips or experiences with lime washing, I’d love to hear about them in the comments.